Step 1. Apply for a User Account
New user need to fill out THIS FORM to apply a system account.
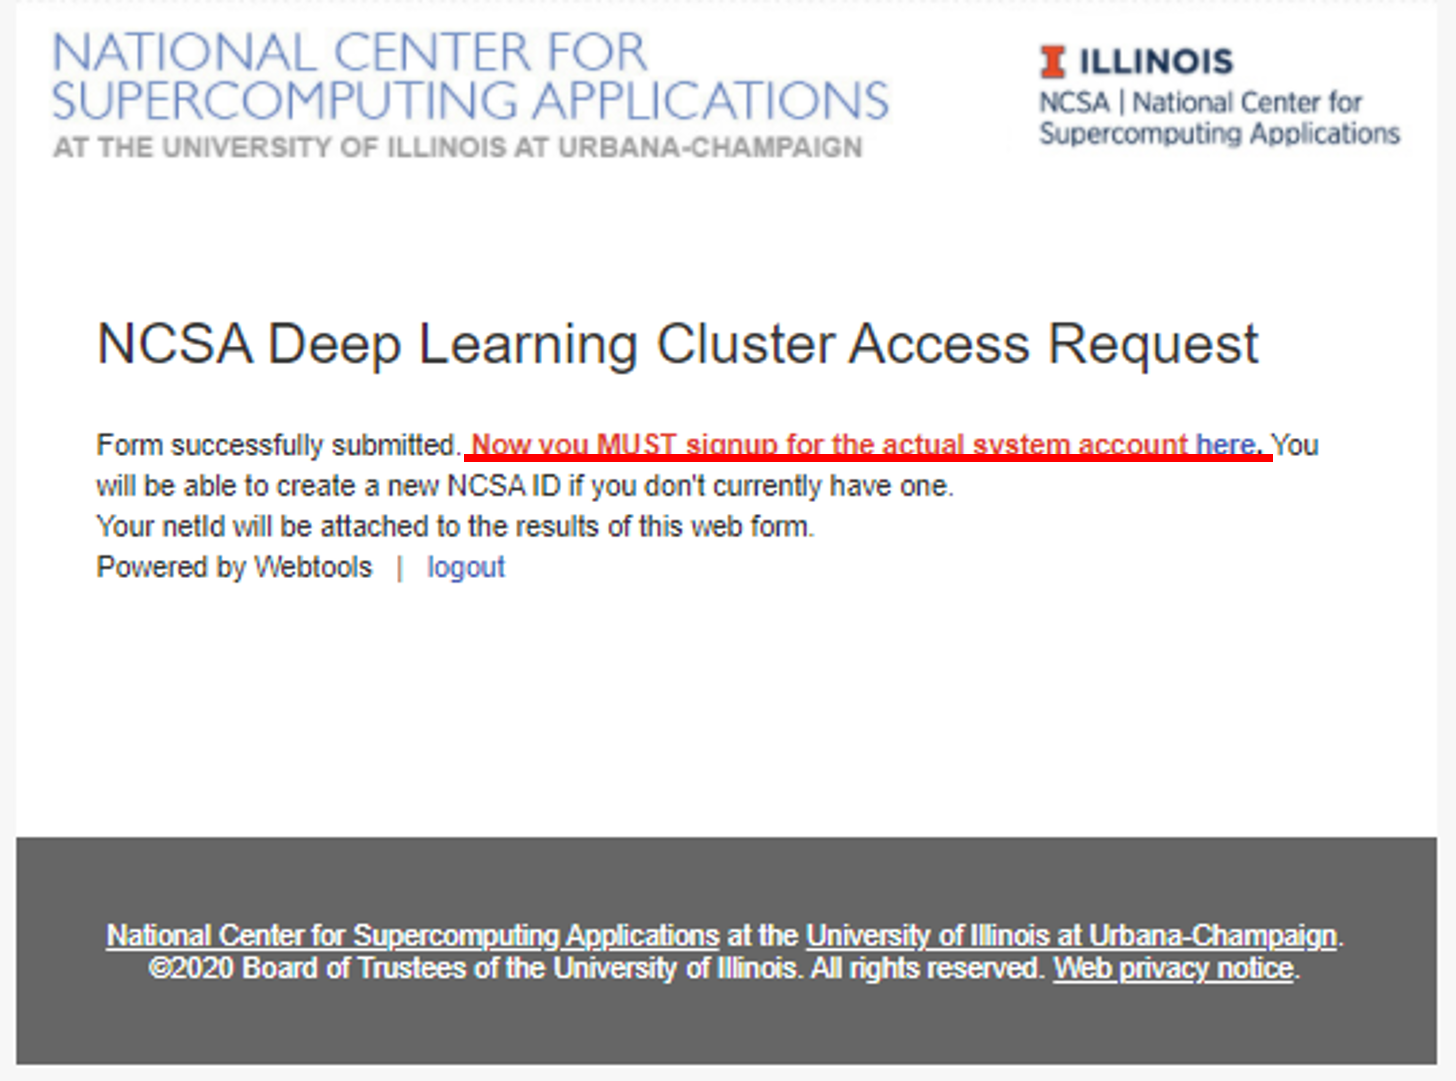
After login with your NetID, you will need to fill out TWO forms.
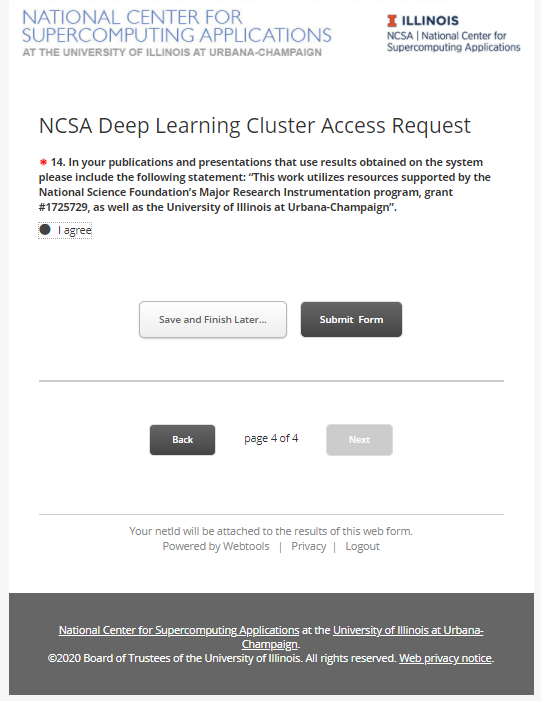
By clicking "Submit Form", you only complete the FIRST form, please click "HERE" to complete the second form.
Step 2. Set up DUO device
New user needs to set up his/her DUO device via https://duo.security.ncsa.illinois.edu/.
If there has any problem, See https://go.ncsa.illinois.edu/2fa for common questions and answers. Send an email to help+duo@ncsa.illinois.edu for additional help.
Step 3. Log on for the First Time with SSH
New user needs to log on HAL system for the first time with SSH to initialize his/her accounts.
ssh <username>@hal.ncsa.illinois.edu
Interactive jobs
Starting an interactive job
Using original slurm command
srun --partition=debug --pty --nodes=1 --ntasks-per-node=16 --cores-per-socket=4 \
     --threads-per-core=4 --sockets-per-node=1 --mem-per-cpu=1200 --gres=gpu:v100:1 \
     --time 01:30:00 --wait=0 --export=ALL /bin/bash
Using slurm wrapper suite command
swrun -p gpux1
Keeping interactive jobs alive
Interactive jobs cease when you disconnect from the login node either by choice or by internet connection problems. To keep an interactive job alive you can use a terminal multiplexer like tmux.
You start tmux on the login node before you get an interactive slurm session with srun and then do all the work in it.
tmux
In case of a disconnect, you simply reconnect to the login node and attach to the tmux session again by typing:
tmux attach
or in case you have multiple session running:
tmux list-session
tmux attach -t <session_id>
Batch jobs
submit jobs with original slurm command
#!/bin/bash
#SBATCH --job-name="demo"
#SBATCH --output="demo.%j.%N.out"
#SBATCH --error="demo.%j.%N.err"
#SBATCH --partition=gpu
#SBATCH --time=4:00:00
#SBATCH --nodes=1
#SBATCH --ntasks-per-node=16
#SBATCH --sockets-per-node=1
#SBATCH --cores-per-socket=4
#SBATCH --threads-per-core=4
#SBATCH --mem-per-cpu=1200
#SBATCH --export=ALL
#SBATCH --gres=gpu:v100:1

srun hostname
submit jobs with slurm wrapper suite
#!/bin/bash
#SBATCH --job-name="demo"
#SBATCH --output="demo.%j.%N.out"
#SBATCH --error="demo.%j.%N.err"
#SBATCH --partition=gpux1
#SBATCH --time=4

srun hostname
submit a job with multiple tasks
#!/bin/bash
#SBATCH --job-name="demo"
#SBATCH --output="demo.%j.%N.out"
#SBATCH --error="demo.%j.%N.err"
#SBATCH --partition=gpux1
#SBATCH --time=4

mpirun -n 4 hostname &
mpirun -n 4 hostname &
mpirun -n 4 hostname &
mpirun -n 4 hostname &

wait
For detailed SLURM on HAL information, please refer to Job management with SLURM.
Step 4. Log on HAL System with HAL OnDemand
New users need to log in to the HAL system via "ssh hal.ncsa.illinois.edu" first to initialize their home folders. After new users initialization, HAL OnDemand can be accessed through
https://hal.ncsa.illinois.edu:8888
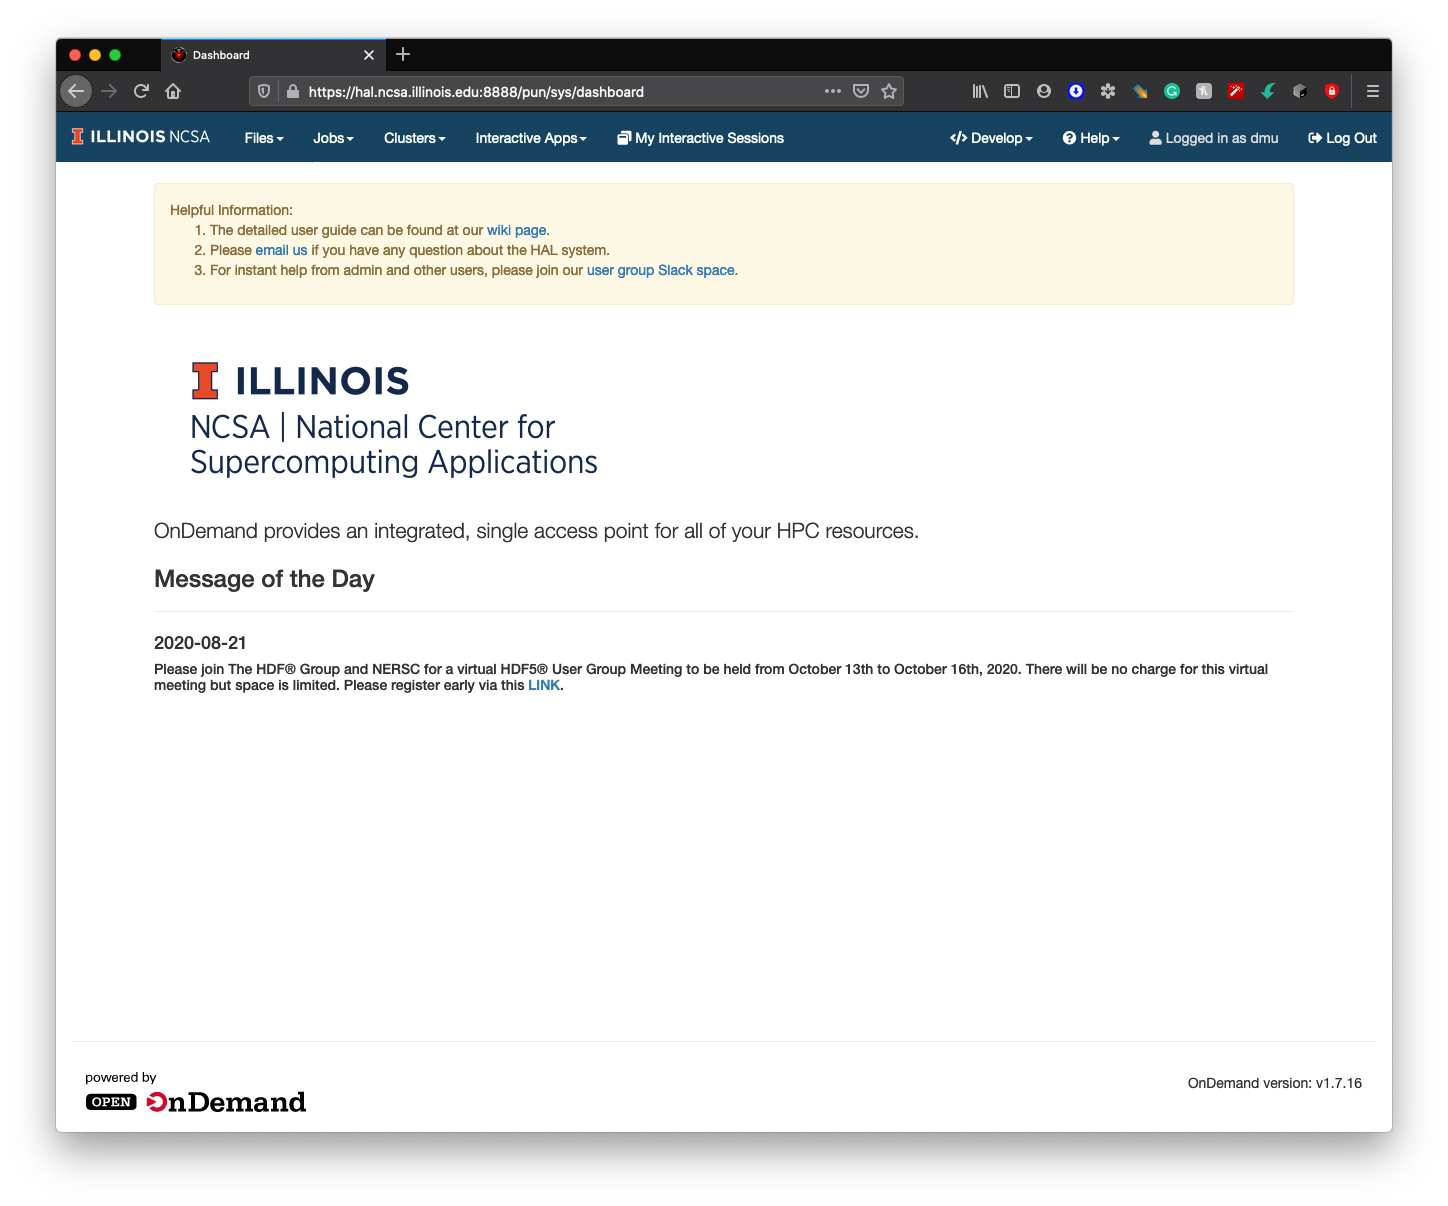
For detailed HAL OnDemand information, please refer to Getting started with HAL OnDemand.