...
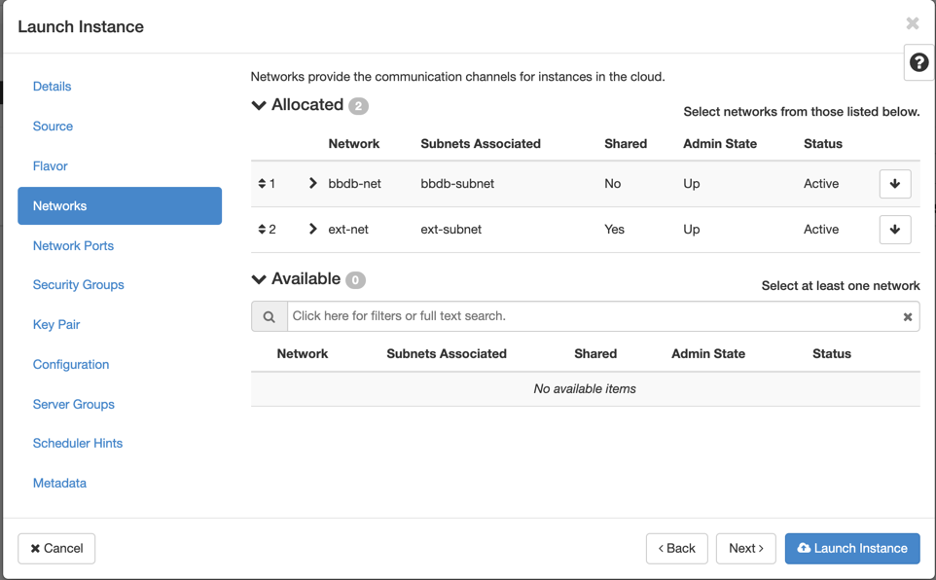
Next we select the network. There will be at least 2 options here. The first one is ext-net, which will allow for external hosts to reach your virtual machine. The second network You may see a few network options to choose from here. Look for a network that is <projectname>-net, for example bbdb-net. This second , where bbdb is the name of your project. By default this network does not allow for external connections, but does allow for . Only other hosts on that same network will be able to reach this machine if they are on the same network. This is good in case of a database server (bbdb-net) and a web server (both ext-net and bbdb-net). Now the webserver can reach the database, but no external hosts can talk to the database directly. Order of the networks is important. The ext-net will need to be last. If it is the first network, you will not be able to reach it. If you only select the bbdb-net, you will not be able to ssh to the server unless you setup a machine that is on both networks (bastion hostfine for a host that only needs to be reachable from other hosts within your network. If you need to setup a host that is reachable from outside your network, you will need to associate a floating IP address to your instance. This is setup after an instance is created (see below).
Network Ports
Can be ignored
...
Once you have created your instance you can see it listed in the dashboard under Instances. Once the instance is Active and Running you should be able to SSH to it. To be able to ssh you will need the public ip If your instance does not need to be accessible directly from the outside, you can SSH to it from another instance that is on the same network as your new instance. You'll just need the IP address, the username, and the key (you did save it right?)
If your host does need to be reachable directly from the external internet, you need to associate a floating IP address to it. To do that, locate your instance in the list and click the down arrow button in the 'actions' column.

From this menu list select 'Associate Floating IP'. From the 'IP Address' selection box, pick an available IP from the list. For 'Port to be associated' you can usually leave the default, but if you have multiple interfaces you can select the appropriate port. Then click the 'Associate' button. Afterwards you can access this host using the floating IP address you just assigned
In this case I can now ssh to my instance using: ssh -i test.pem centos@141.142.219.121centos@IP_ADDRESS, replace IP_ADDRESS with your local project-net IP or your floating IP address if you assigned it one. You might get an error that the permissions are too open. If that is the case you can change them using chmod 600 key.
...