Create the Environment/Kernel
1. Install Anaconda
This first step is needed to give you the conda command. For example, on Ubuntu Linux:
|
2. Create Python Environment
Use conda to create a python environment containing all needed python modules along with Jupyter Notebook (if needed). For example:
|
3. Install c3python Helper Module
This module contains the get_c3 function which will be used to connect to C3 AI Suite. For example:
|
4. Activate the Environment and Load c3 thick Connector
4.1 Source your environment
|
4.2 Launch Jupyter
To start Jupyter and connect via browser, or launch your python session:
|
If the launch did not automatically open Jupyter in your browser window, note any URL and/or Token printed in your shell output and open Jupyter in your browser: http://localhost:8080/jupyter
Note: You will only be able to access notebooks in the current shell directory and below, so cd to an appropriate top-level directory before launching.
4.3 Open a Notebook
In Jupyter navigate to a .ipynb notebook you wish to open. Once open, change the kernel to the name of your conda environment. For example: py-pythonEnv_venv.
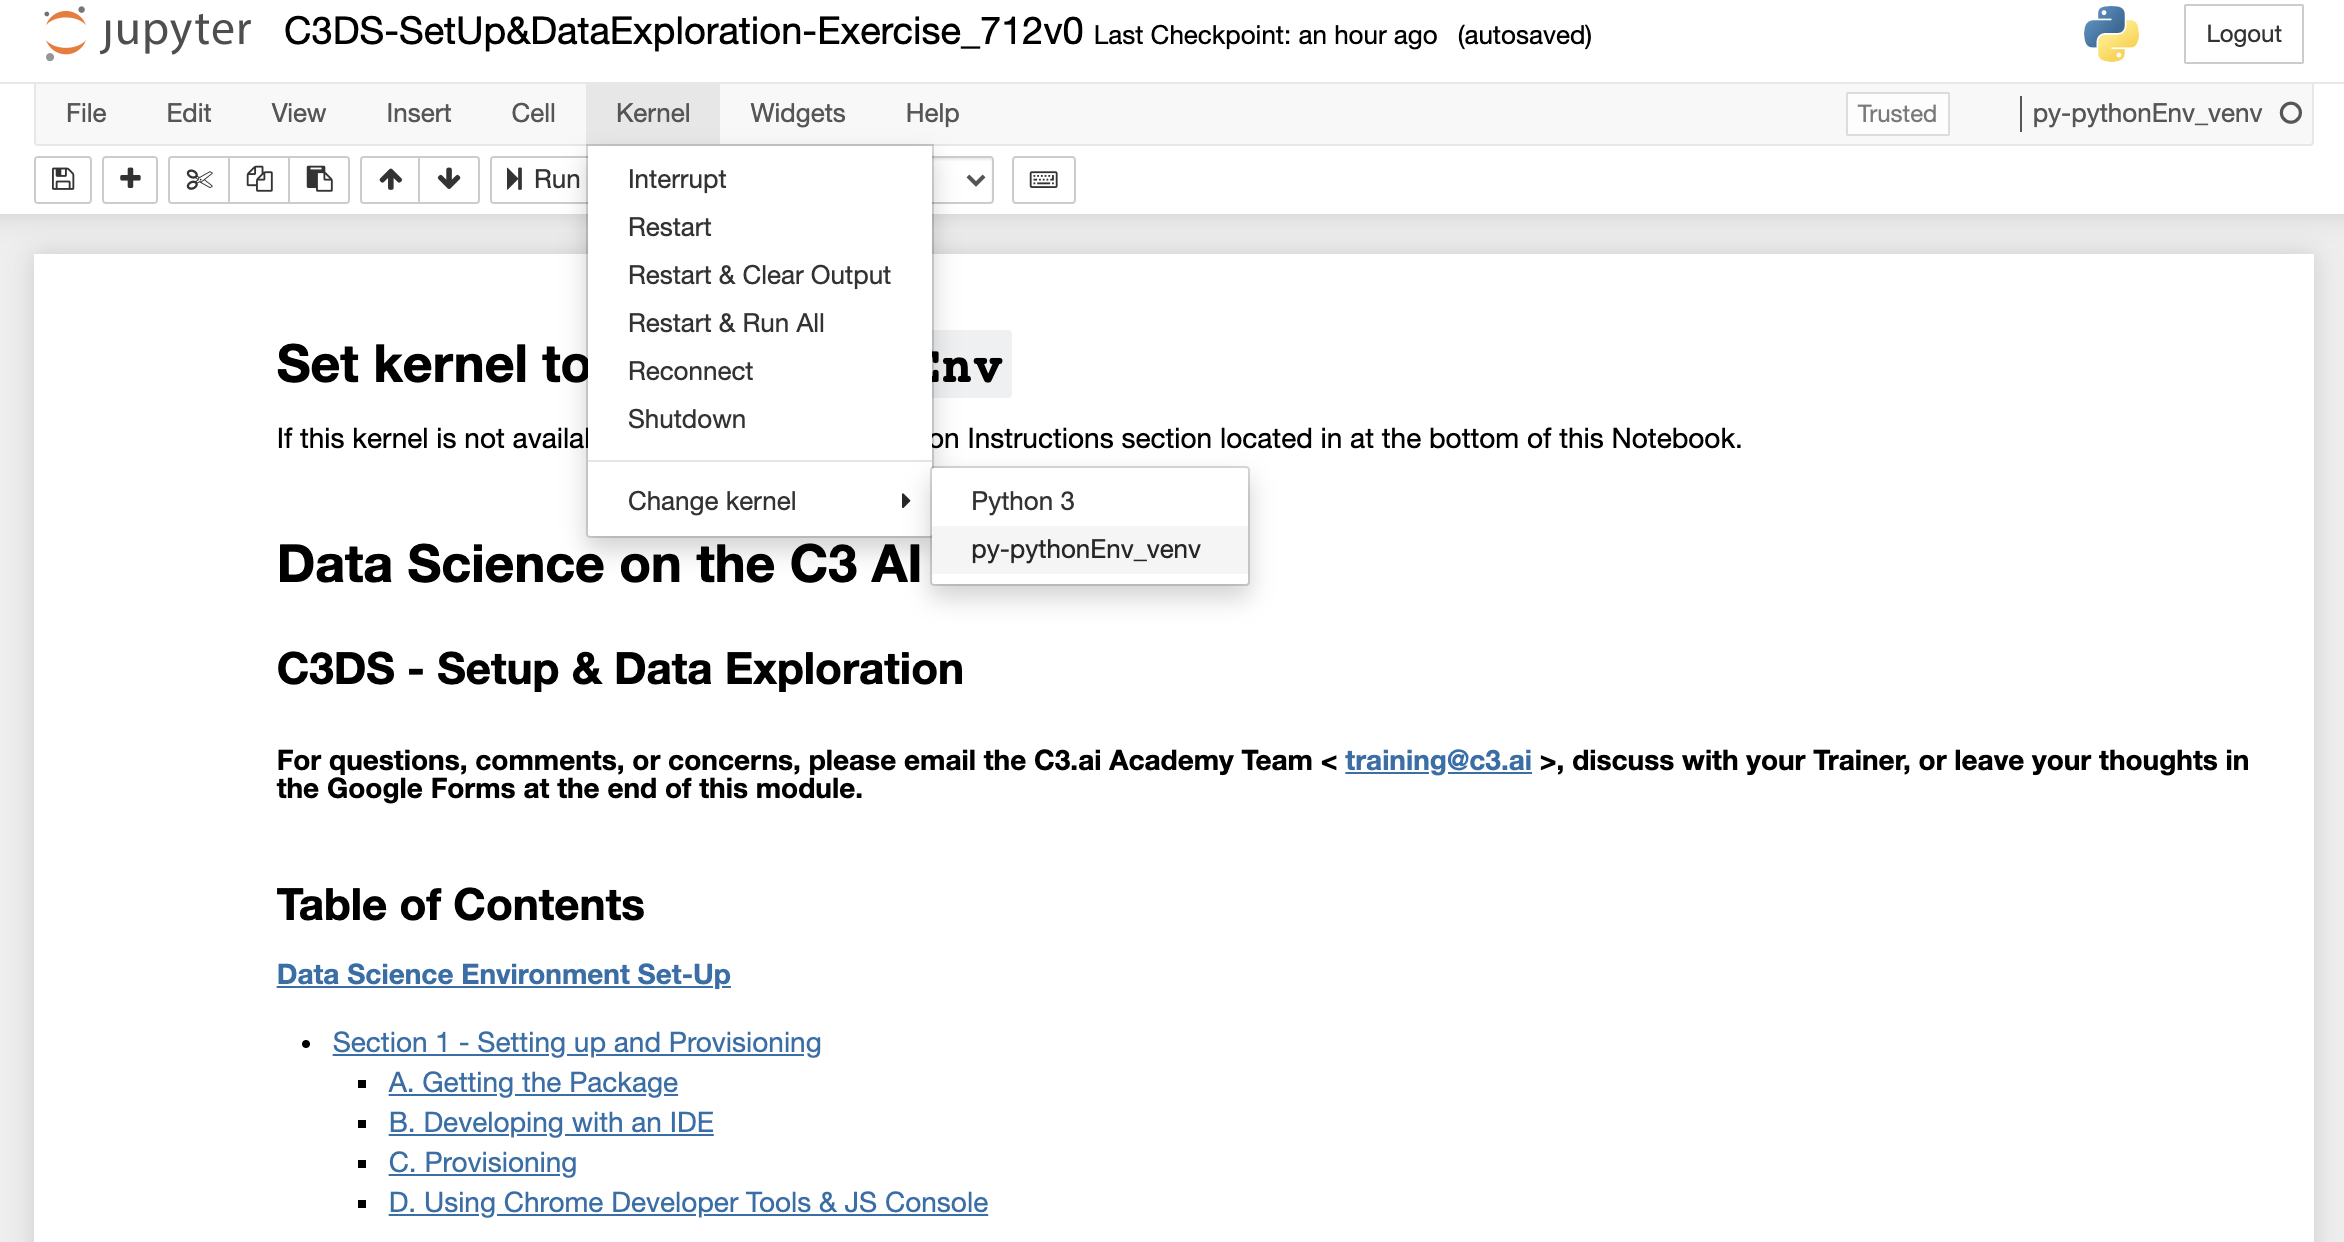
Note: Once changed it should show in the upper right as the active kernel.
4.4 Import c3 Object
To import the c3 object with the get_c3 helper function, add the following code in your Jupyter notebook:
|
For example, assuming you are running the docker container on your local machine, you would have the following for a "test/c4" tenant and tag:
|
Note: The above loads the 'thick' connector, which is now the officially supported version. You can load the thin connector by replacing thick with thin in the get_c3 function call.
4.5 Enter Credentials
If successful the above code should prompt you for a username and password when run in the Jupyter cell:

The username and password are the BA / BA used to access the C3 AI static console.