Azure offers Virtual Machine services running Linux or Windows backed by a variety of different underlying hardware types and capacities.
While it is possible to think of (and manage) a VM as if it were your own physical computer system running under your desk or at a data center, there is an array of supporting services that enable you to manage your compute much more efficiently than is possible with traditional dedicated hardware. These efficiencies promise to reduce your cloud spend and enable you to dedicate more of your time to your primary work.
Managing Resources
If you're new to Azure, you'll probably benefit by starting off in the Azure Web Portal. However, taking advantage of the command line and/or the API may offer much greater efficiency a lot sooner than you think. consider revisiting these more-advanced management methods before you get too deep into infrastructure deployment.
Minimum Set of VM Parameters
Azure will allow you to use default values for most of the dozens of configuration parameters. However, there are some that you must specify at the time you create your VM:
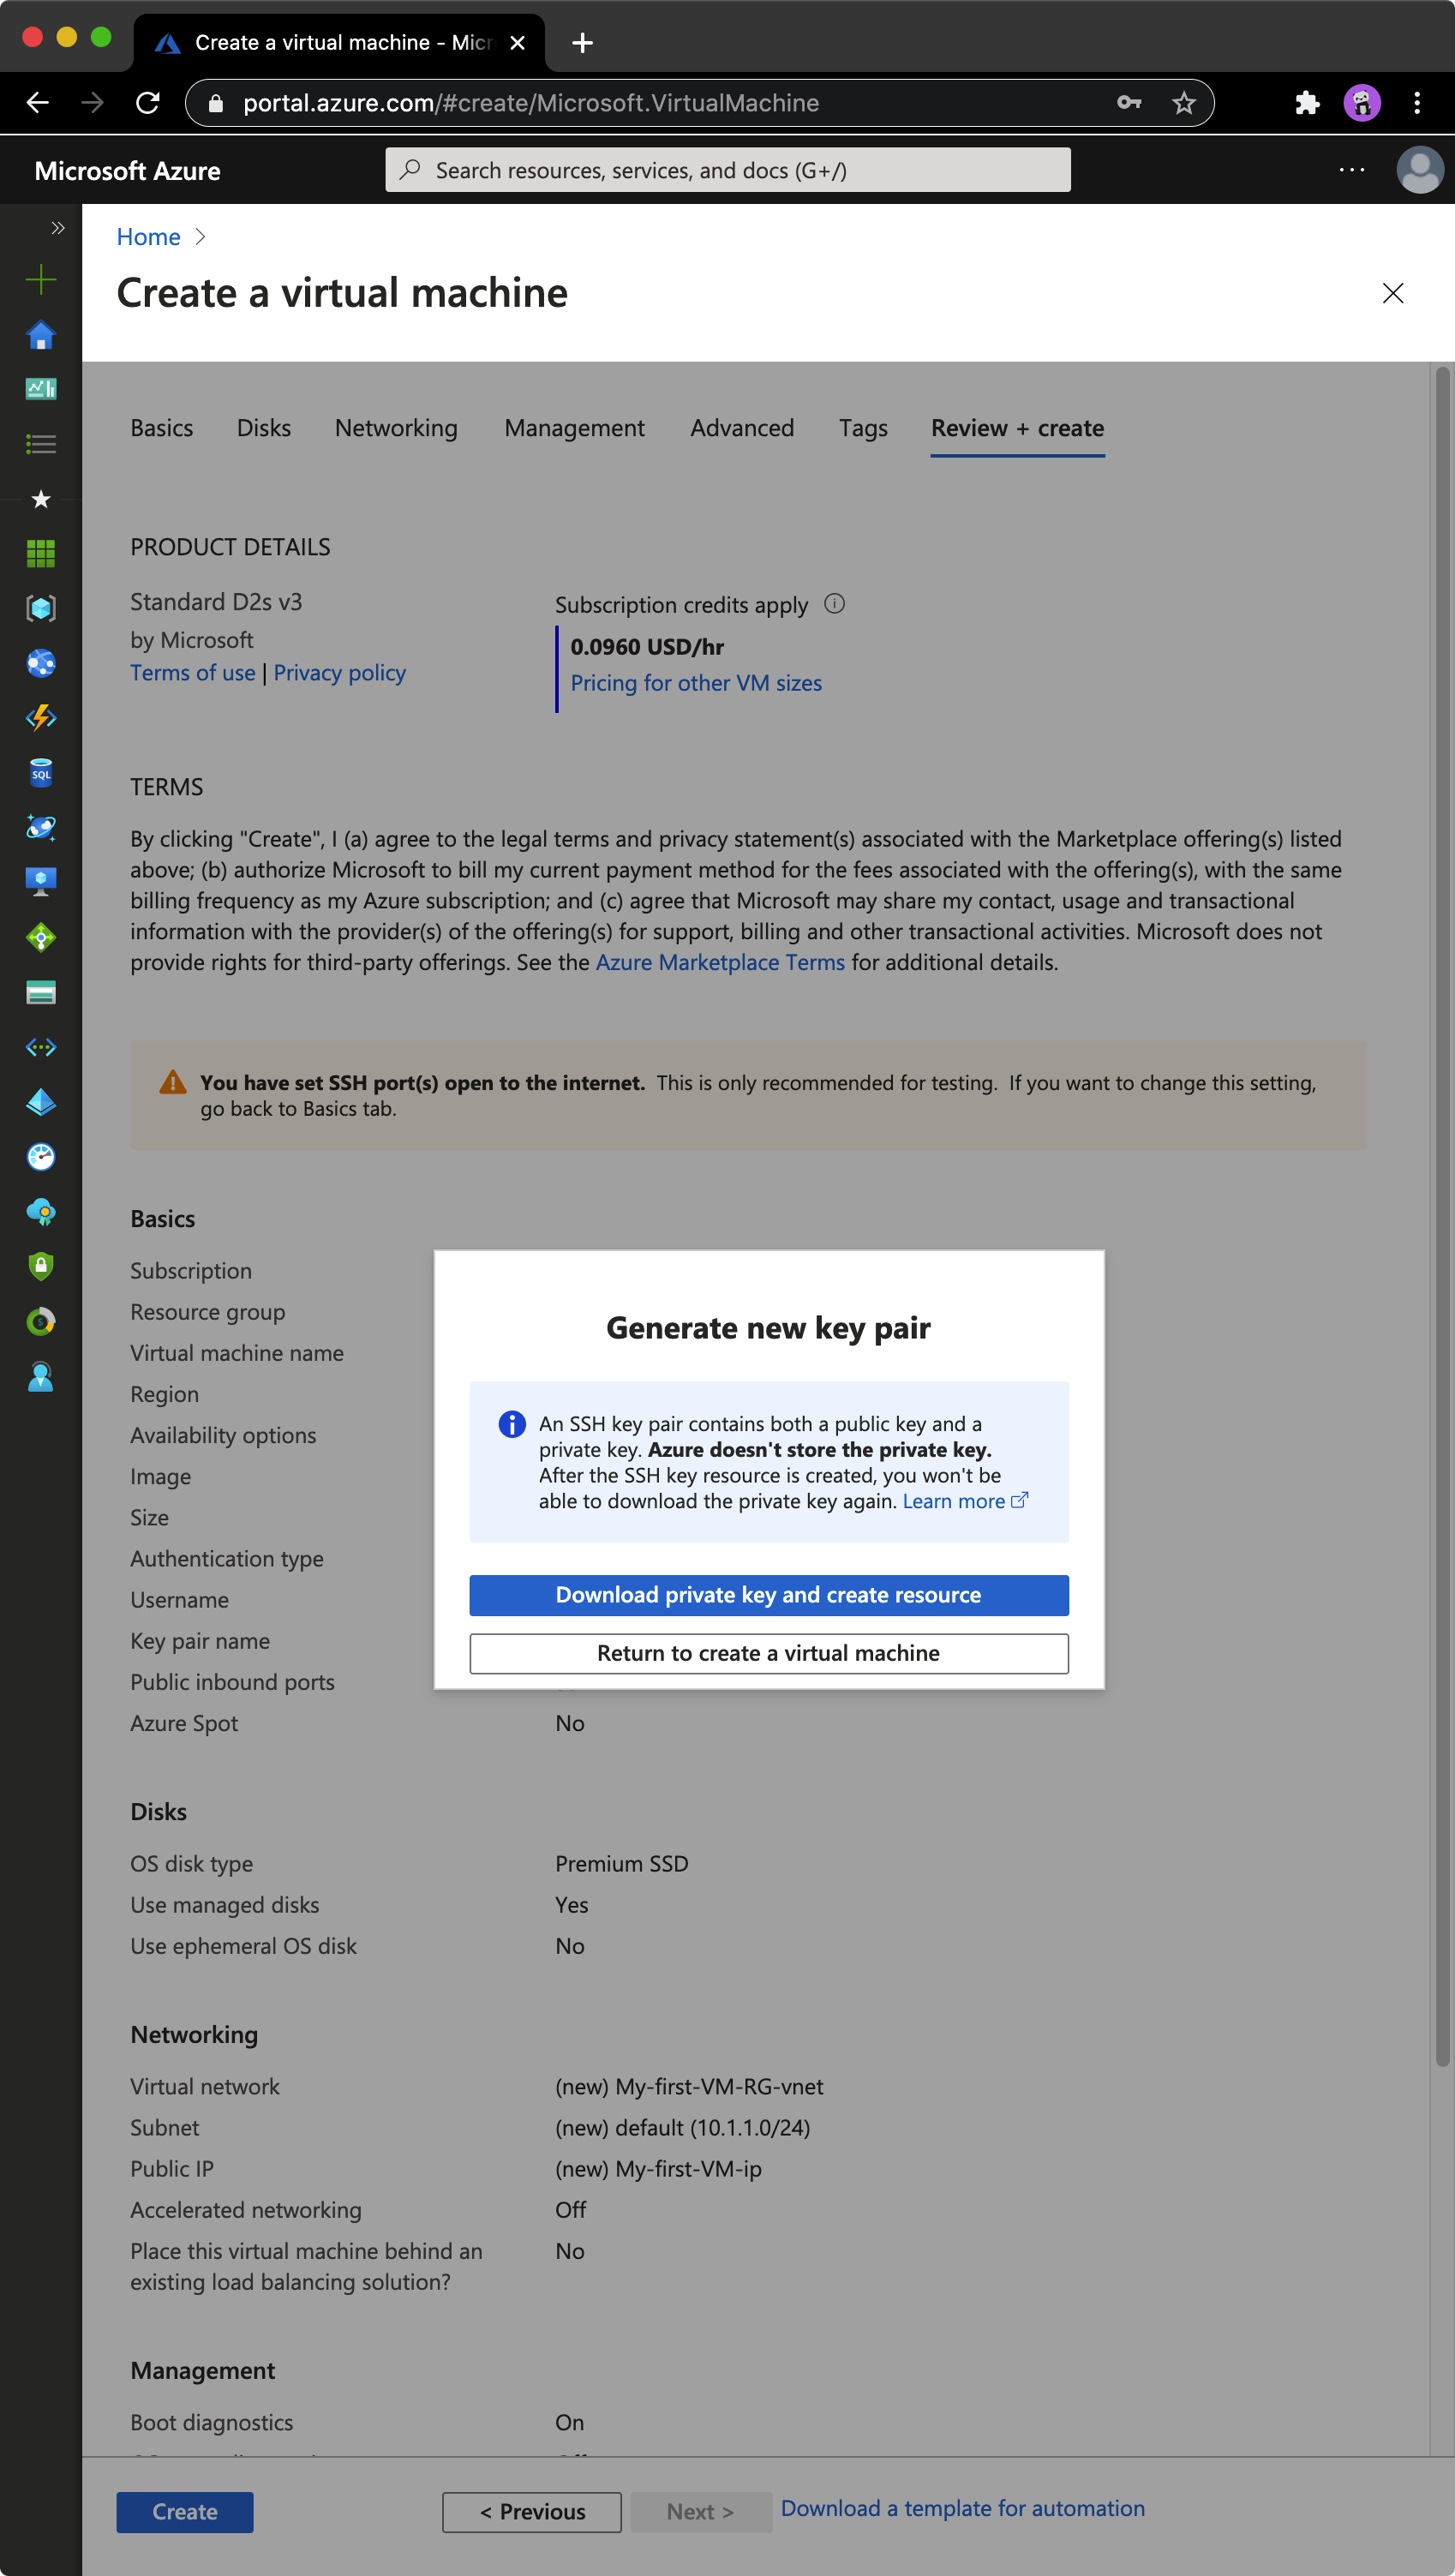
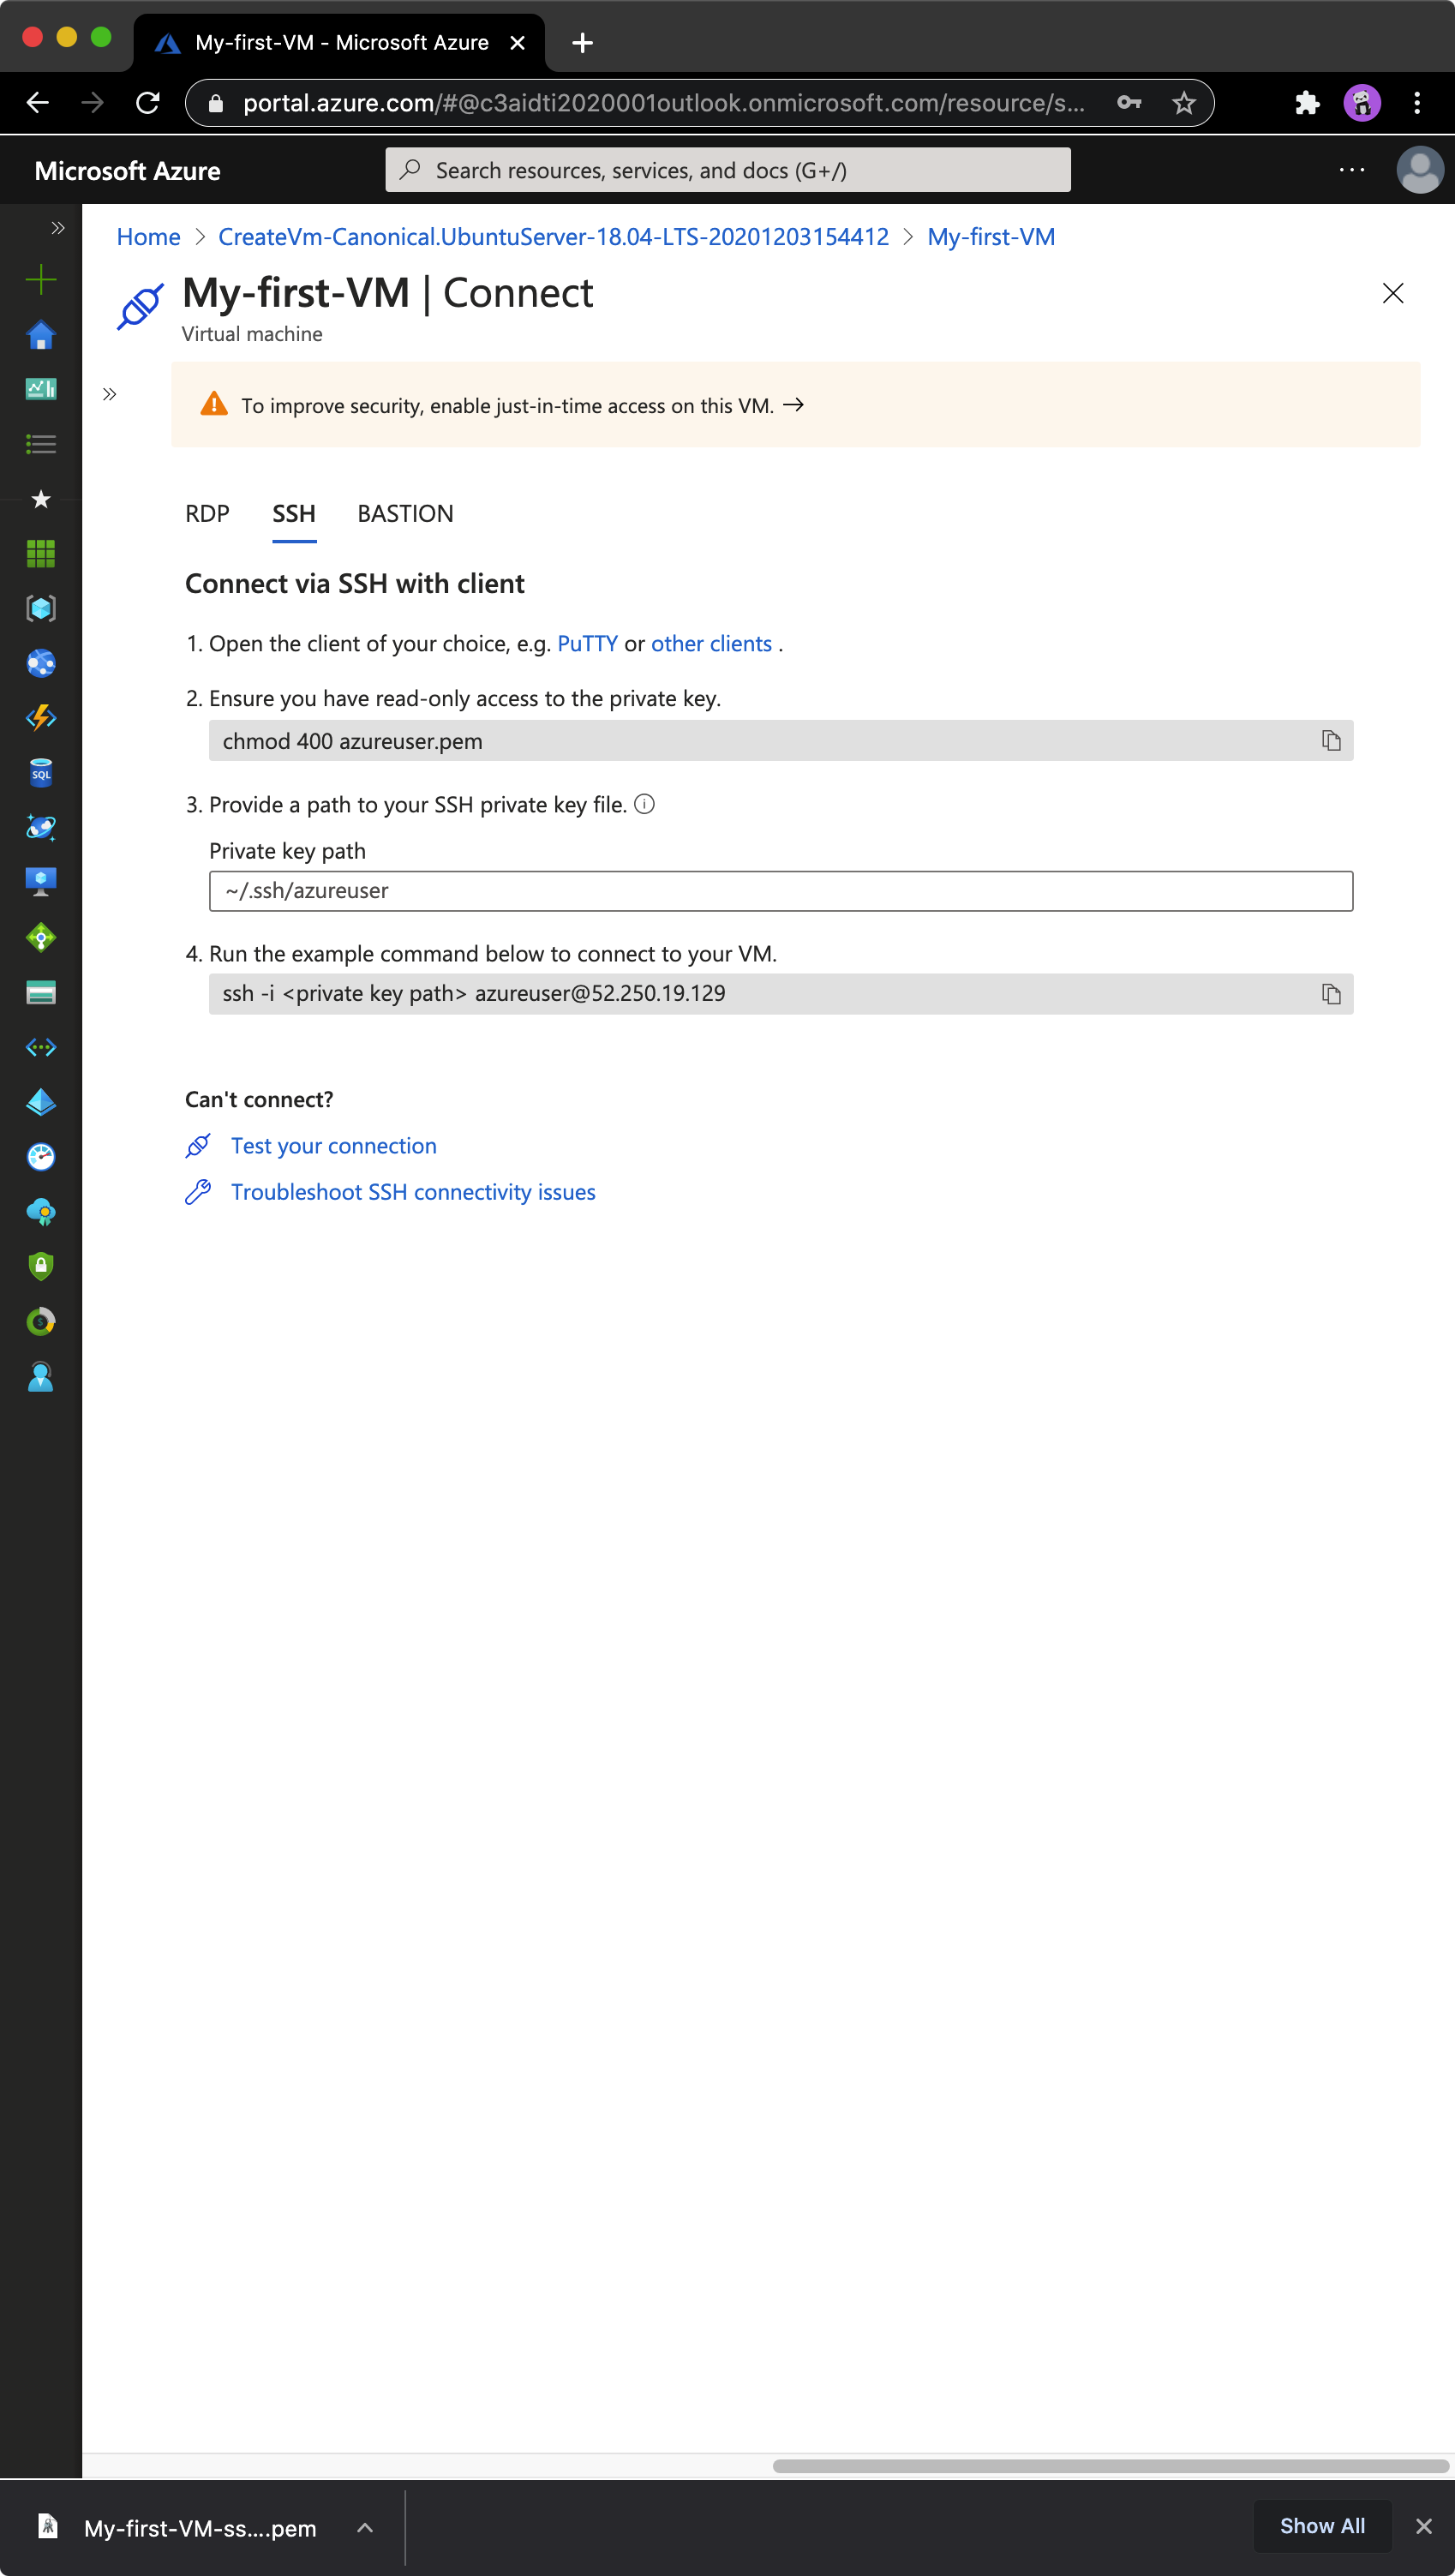
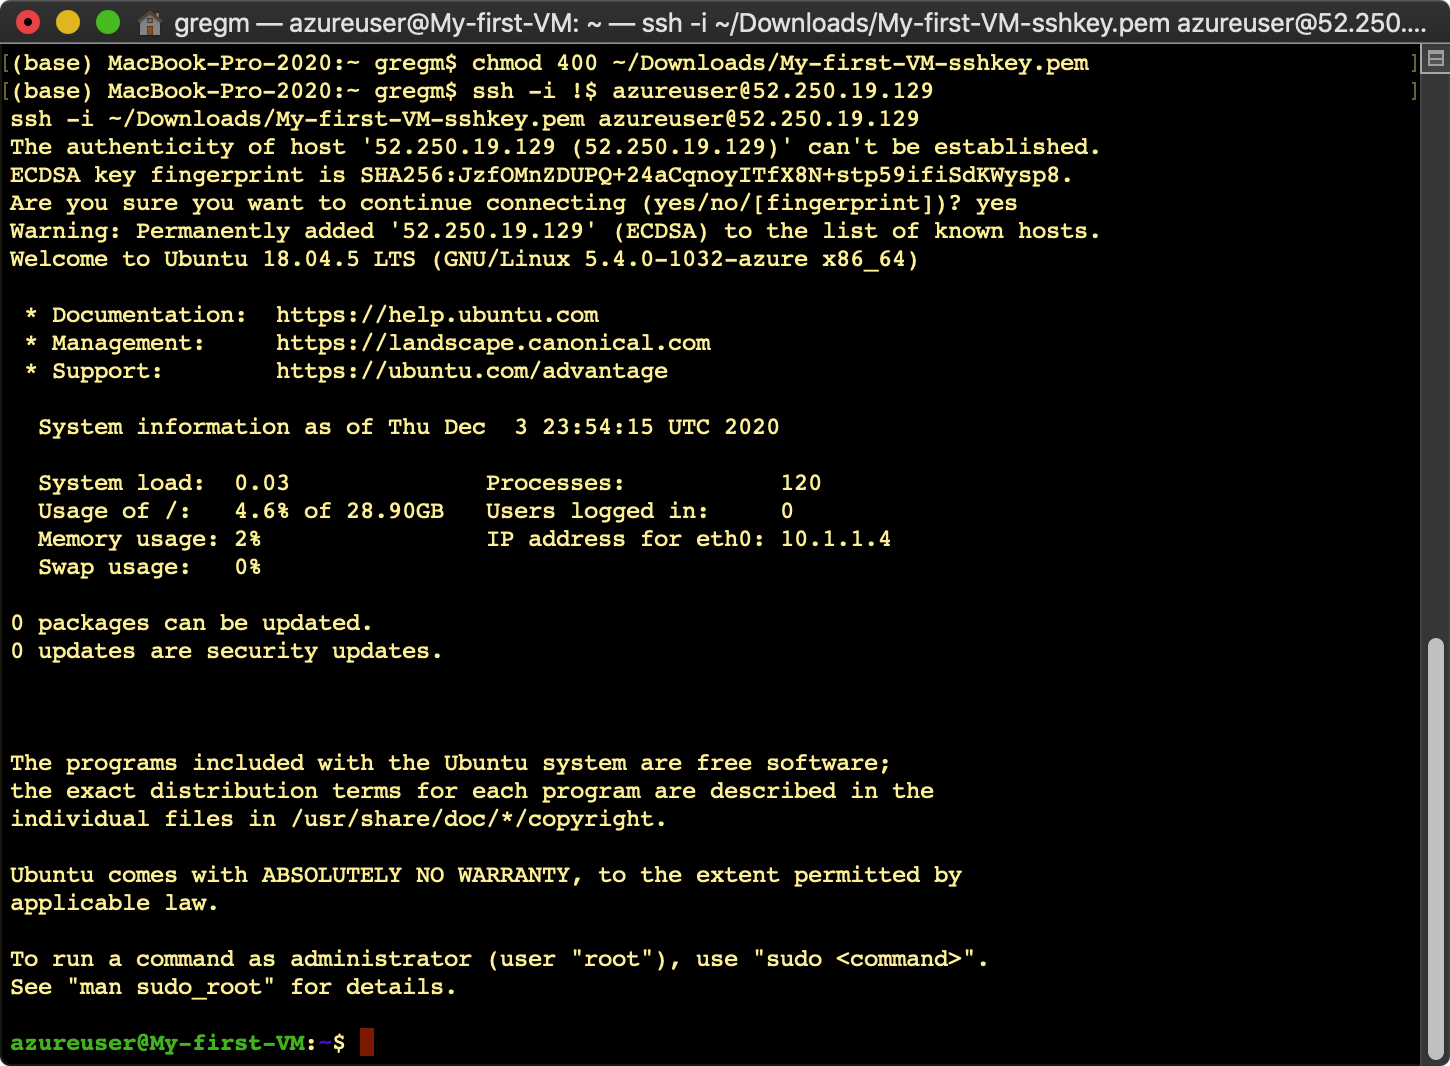
Azure Web Portal VM Lifecycle Example
The screenshots below illustrate a simple VM lifecycle, managed in the Azure Web Portal: VM creation, access, and removal:
1) VM creation


2) VM access

3) VM removal (via Resource Group deletion)

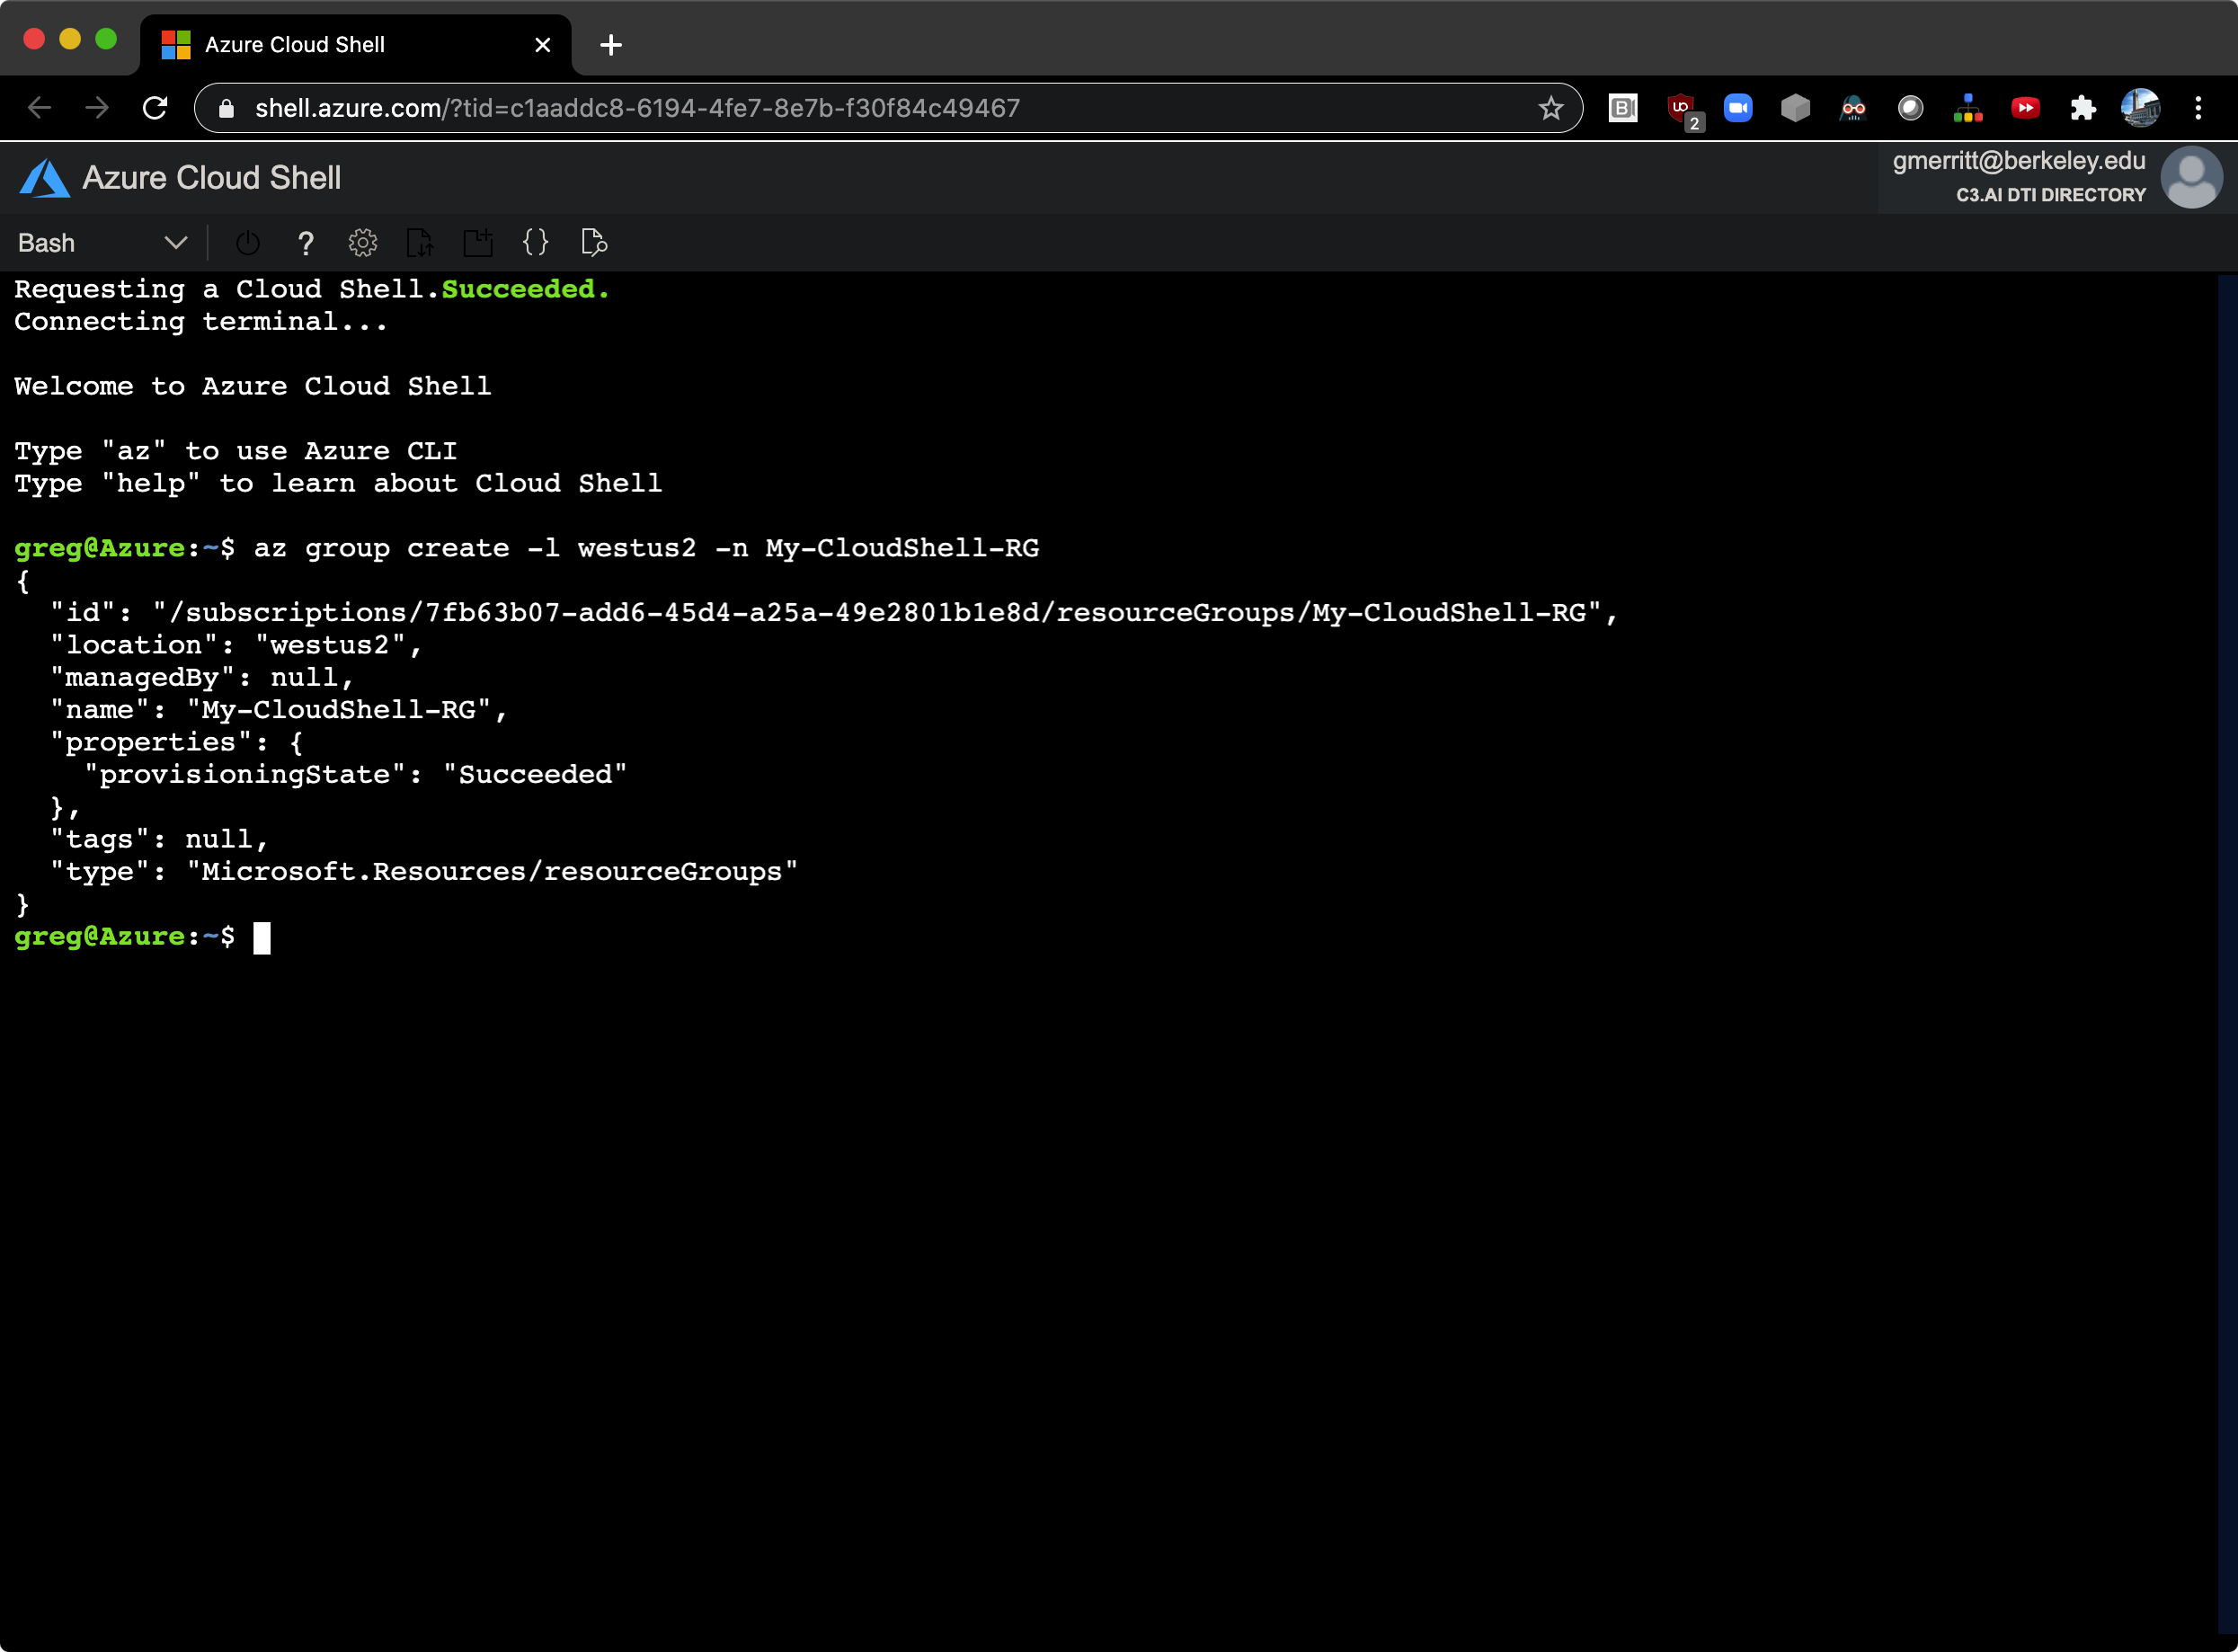
Command Line VM Lifecycle Example
The screenshots below illustrate a simple VM lifecycle, managed from the Cloud Shell command line: VM creation, access, and removal.
(Note: the az command, shown below running in Cloud Shell, can be run locally on Windows, Mac or Linux if you install the Azure command line tools.)
1) VM creation

2) VM access

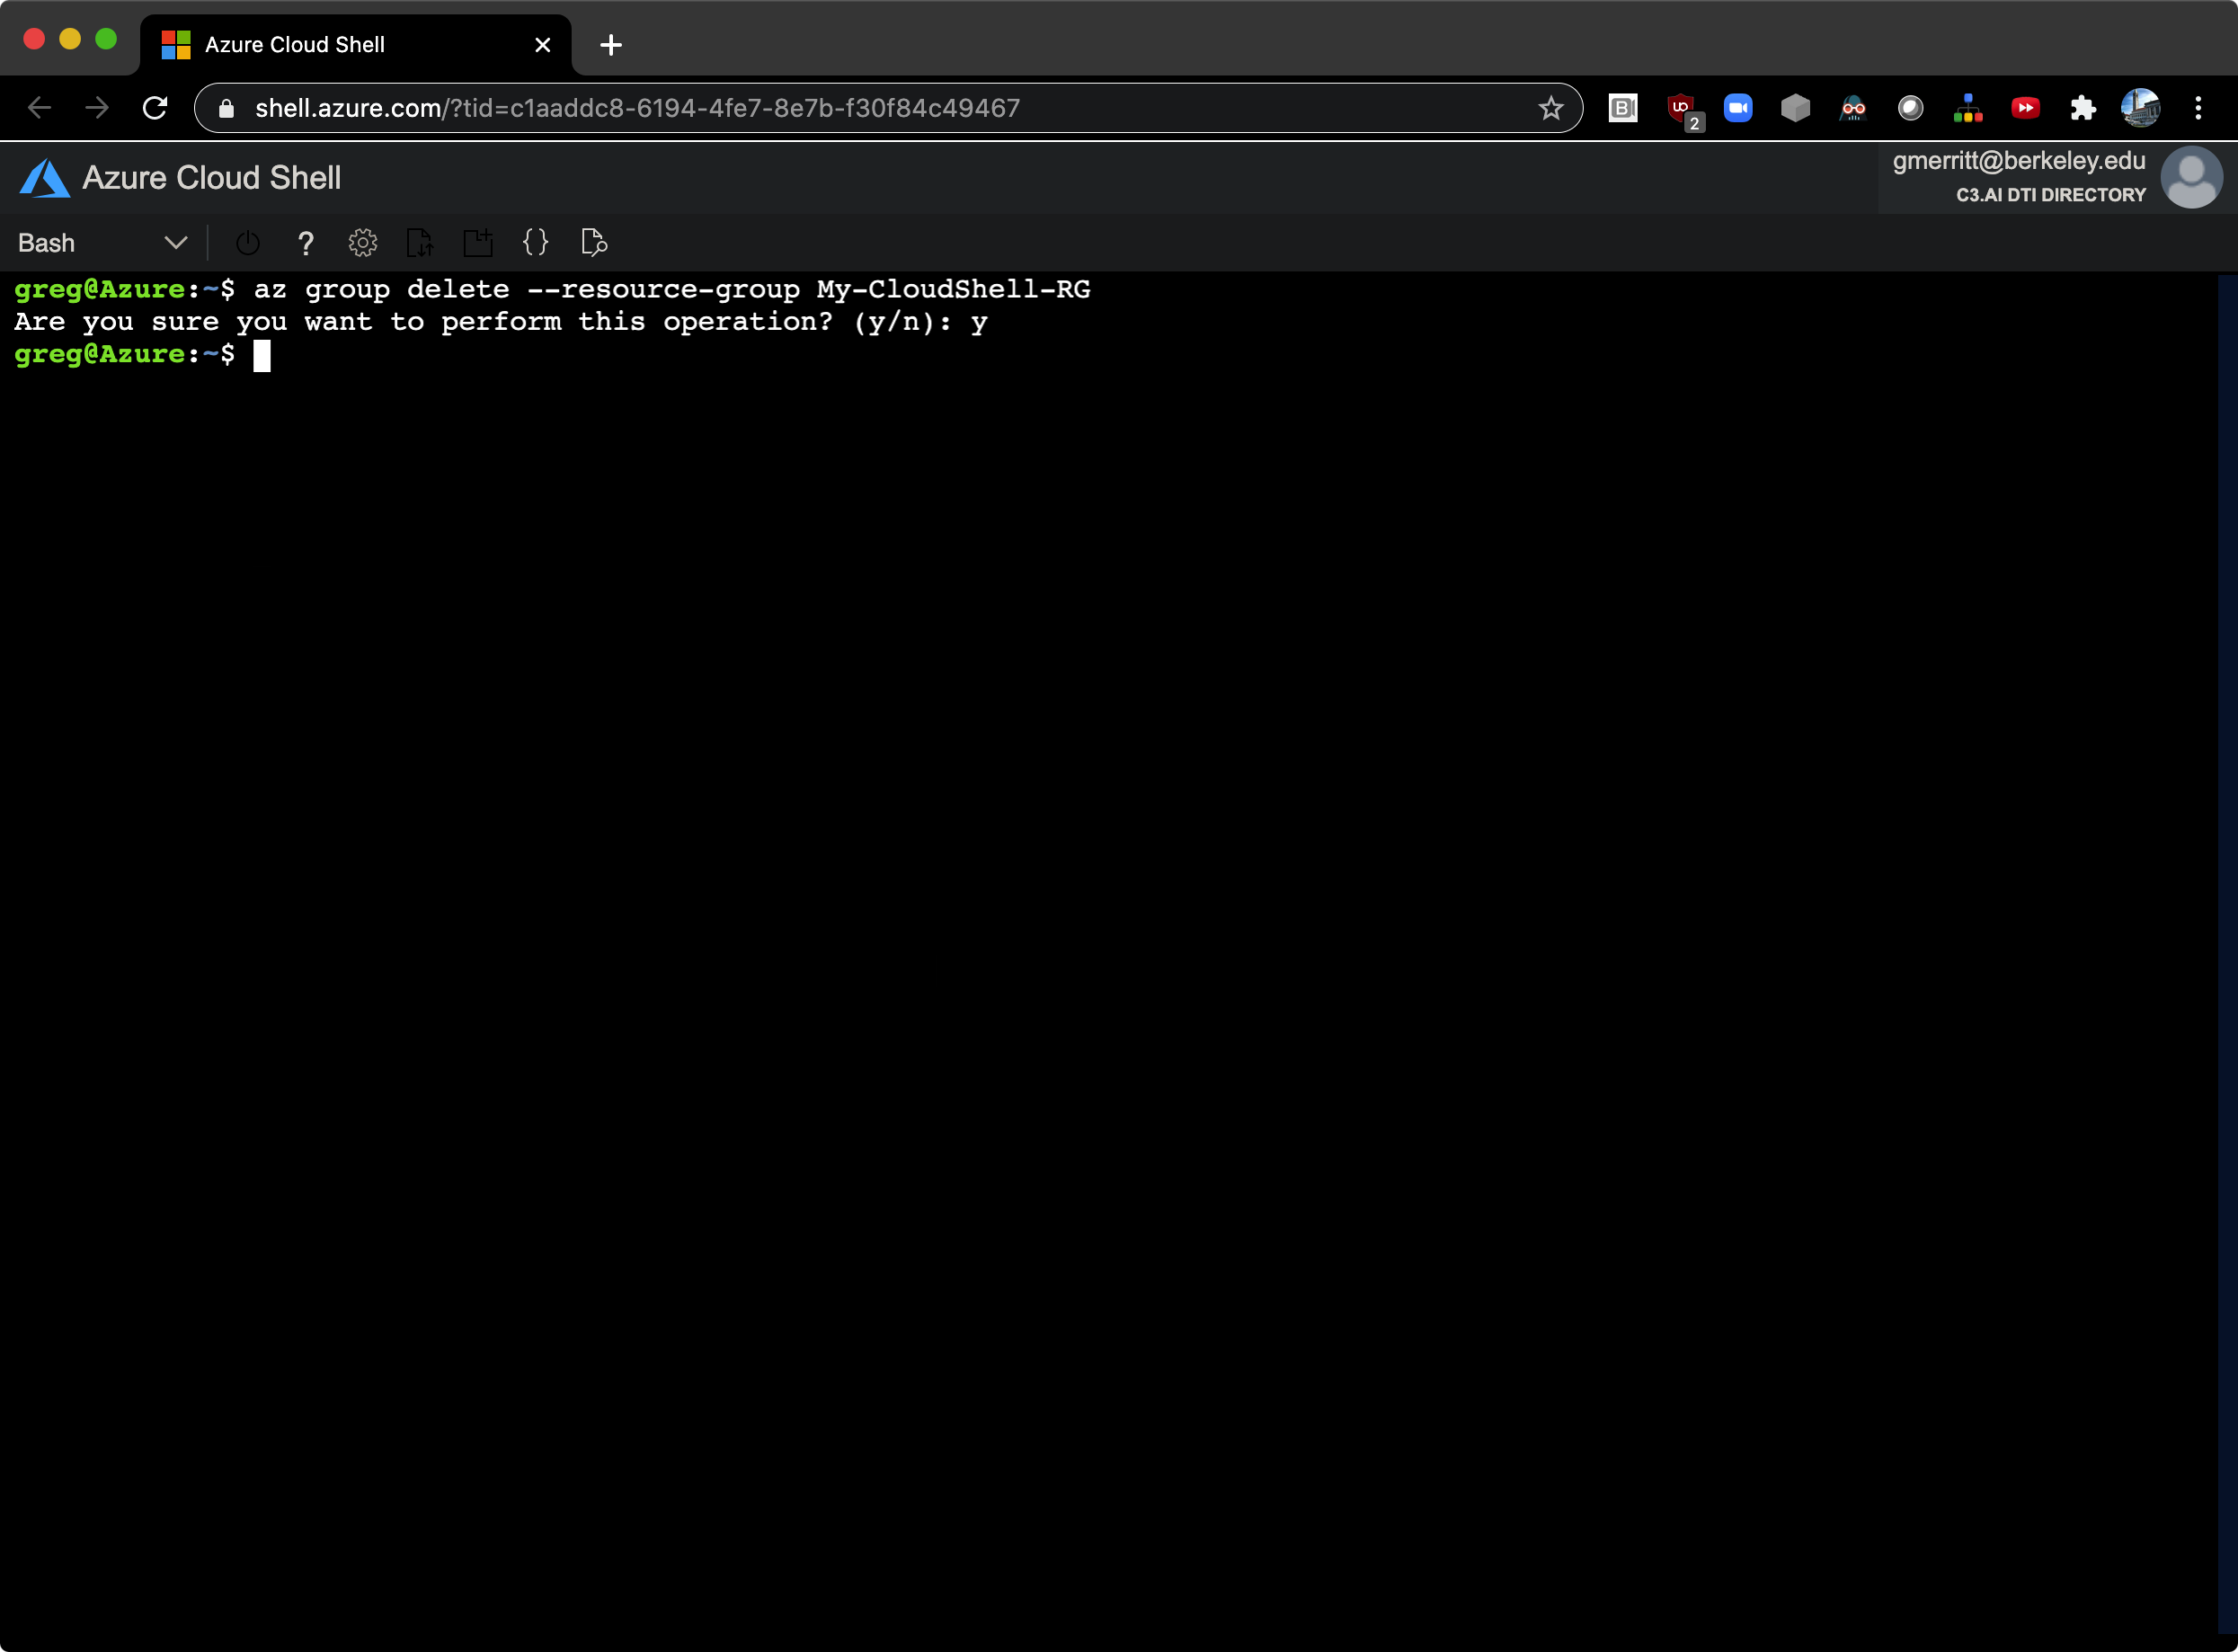
3) VM removal (via Resource Group deletion)
Configuring Your VM
If you wish, you may think about your VM much like a server under your desk or at a data center: log in, carry out many configuration and installation tasks, and perhaps back up the prepared machine once you have it set up. This work style is available to you in the cloud.
Alternatively, you can take an infrastructure as code approach and define your VM's configuration in text files. Such files can be archived, version controlled, shared, and re-used:
Consider this simple example of cloud-init directives (in YAML format) that can be given to a VM at first launch:
#cloud-config
drivers:
    nvidia:
        license-accepted: true
apt_update: true
repo_update: true
packages:
 - nvidia-utils-455
power_state:
    mode: reboot
In the example above, the cloud-config directives compel your VM to download and install Nvidia GPU drivers and utilities on your VM, and then reboot the machine so that the drivers are loaded and ready to use. You don't have to find any download URLs, unzip anything, or wait for each step to complete before running the next. You also have documentation of what was done to the machine to configure it, and can easily bring up another machine just like the first without having to manually repeat these installations.
Many standard Azure VM images (including examples running Ubuntu, CentOS, and Windows) run the cloud-init service, which can read and execute cloud-config directives. A file of such directives encodes your VM configuration, including software package installations. This enables you to define your VM's configuration in a text file, which can be documented, shared, re-used, and even managed under version control. DTI researchers are strongly encouraged to consider using the built-in cloud-init service in Azure VMs to help manage deployments.
To use the cloud-init service, you may paste cloud-config text into the appropriate form field on the Advanced tab of the Web Portal VM creation screens:

When using the az vm command line utility to create a VM, you can add a parameter value that indicates the location of a local file that contains your cloud-config data:
--custom-data "/path/to/my_cloud-config_file.txt"
This will deliver (and execute) your cloud-config directives to your VM's built-in cloud-init service upon its first boot.
To read more about using cloud-config files with Azure VMs, follow these links to documentation and examples:
- https://docs.microsoft.com/en-us/azure/virtual-machines/linux/using-cloud-init
- https://docs.microsoft.com/en-us/azure/virtual-machines/linux/tutorial-automate-vm-deployment
- https://cloudinit.readthedocs.io/en/latest/topics/examples.html
Note: the cloud-init service is not Azure-specific, with support from other cloud providers as well.
Stopping and Starting Your VM
In most cases, you can Stop your configured VM at any time and Start it again later when you next need to use it. This Deallocates most of the VM's resources so that your VM does not incur significant costs while it's stopped.
Note that this must be done from the Web Portal, command line, or API. Simply giving a shutdown command to the VM's OS will not deallocate the underlying resources.
You may also schedule shutdown of your VM at a prescribed time.
Before relying on this, check documentation and do some tests to confirm that disk partitions whose data needs need to preserved behave as you expect after a Stop/Start cycle. This works out fine in most cases, but it's best to confirm in advance.
Resizing Your VM
You can resize Azure VMs. For some use cases, it can be convenient and cost-effective to configure and test on a smaller VM (reduced CPUs, GPUs, and RAM), and then resize to higher capacity at run time.
Backing Up Your VM
Azure provides methods for performing VM backups.
Disk Roles and Persistence of Data
Read about Data, OS and Temporary disks, including notes regarding data persistence.
Upcoming
- ARM templates
- ssh tunneling
- Network Security Groups
- Just-in-time VM access
- Marketplace images
- Workstations: Remote Desktop on both Linux and Windows