NCSA wiki will be offline Friday, Apr 19, 2024, from 1700 hours until Sun, Apr 21, 2024 in order to upgrade Confluence.
MAEviz Overview
Welcome 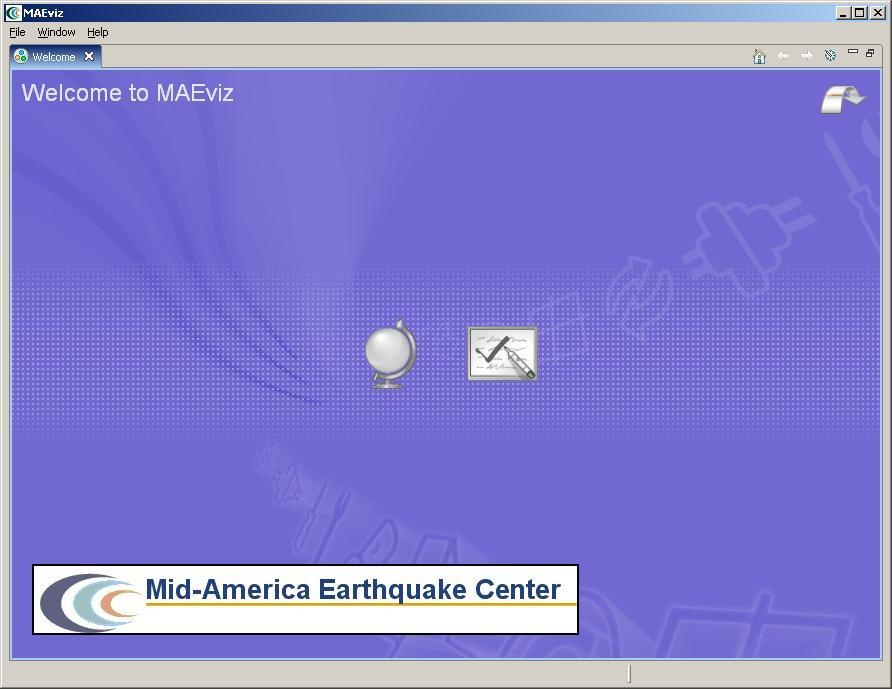
When MAEviz is first launched, the welcome screen appears. From the welcome screen, users can select to read an overview of information about MAEviz, follow built-in tutorials, or just begin working in MAEviz (by selecting Workbench which will take you to the main MAEviz screen, also known as the Workbench). See figure above.
Workbench Layout
The MAEviz workbench consists of a number of Views, each containing information about a specific part of MAEviz. Each view is like a sub-window within the MAEviz workbench window, and can be minimized, maximized, moved, or even torn away from the main window into its own window. These interactions are done by clicking the minimize and maximize view icons in the view's title bar, or by clicking and dragging on the view's border or title bar.
See the image below for the most commonly used views in MAEviz.
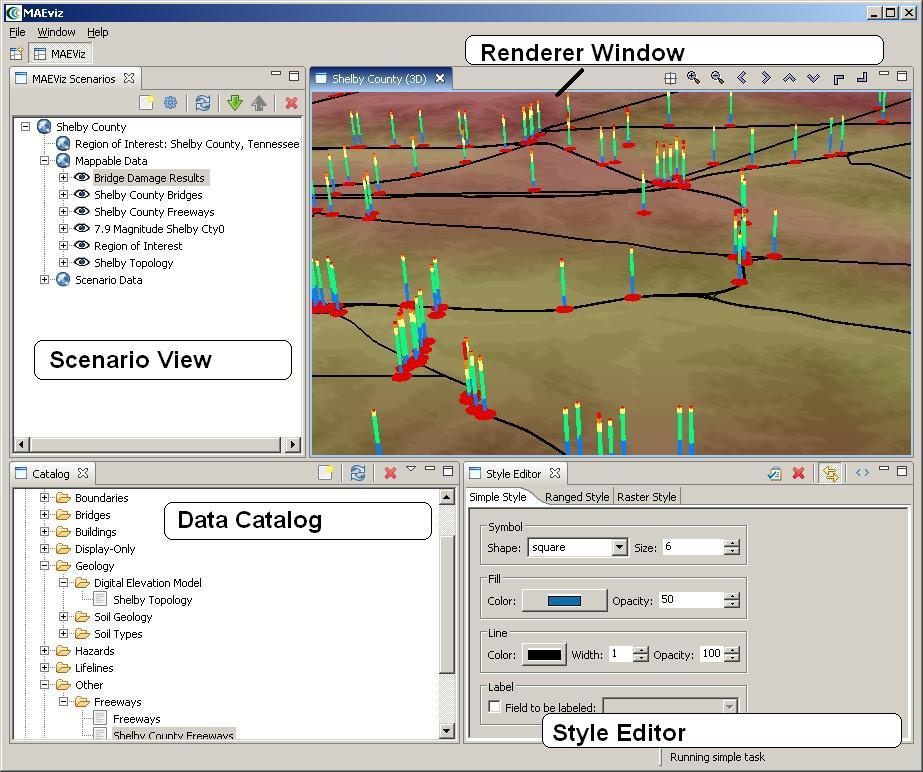
Scenario View
The Scenario View is where you will find a list of all the data for the scenario or scenarios that you are currently working with. Each scenario that you are working with is listed as a top-level item in this view, which can be expanded by clicking the plus ![]() icon next to its name, to see the details of the scenario. Inside each scenario, you can see a list of the Mappable scenario data, which are the layers of data that appear in your rendered map, as well as a list of Scenario Data, which includes all non-renderable data for the scenario (e.g. tables).
icon next to its name, to see the details of the scenario. Inside each scenario, you can see a list of the Mappable scenario data, which are the layers of data that appear in your rendered map, as well as a list of Scenario Data, which includes all non-renderable data for the scenario (e.g. tables).
The Scenario View is also where you would go to do the major operations on your scenarios: adding an earthquake hazard or other data, running damage analyses, etc.