Using Eclipse CDT with CUDA makefile projects is straightforward after a couple key steps.
- Enable .cu filenames for CDT
- Window -> Preferences -> C/C++ -> File Types
- New... : add *.cu as a C Source File type
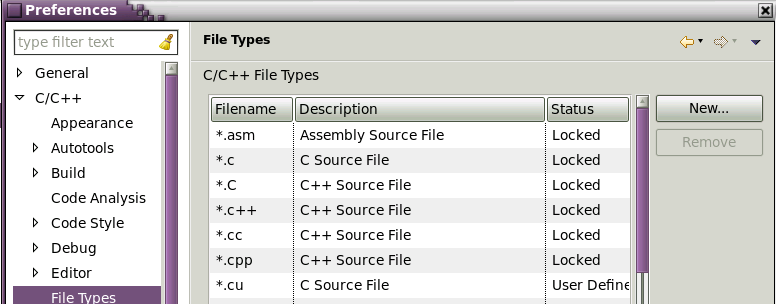
- Window -> Preferences -> C/C++ -> File Types
- Add Includes for the CUDA and SDK libraries
- Project -> Properties -> C/C++ General -> Path and Symbols
- Add... : CUDA includes for your project (as shown, or discover clues to them with a command like "which mpicc" )
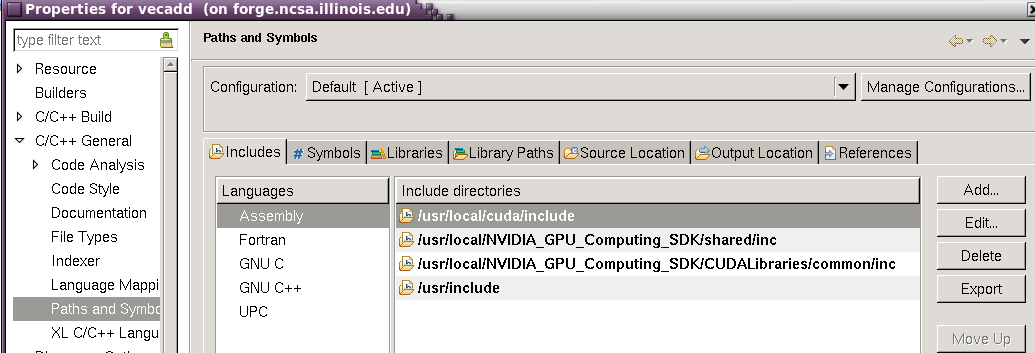
- Project -> Properties -> C/C++ General -> Path and Symbols
- Disable some of the error checking as shown below (optional, project will build anyway using the makefile you provide )
- Project -> Properties -> C/C++ General -> Code Analysis (select radio button: use project settings)
- Syntax and Semantic Errors
- Symbol is not resolved
- Type cannot be resolved
- Field cannot be resolved
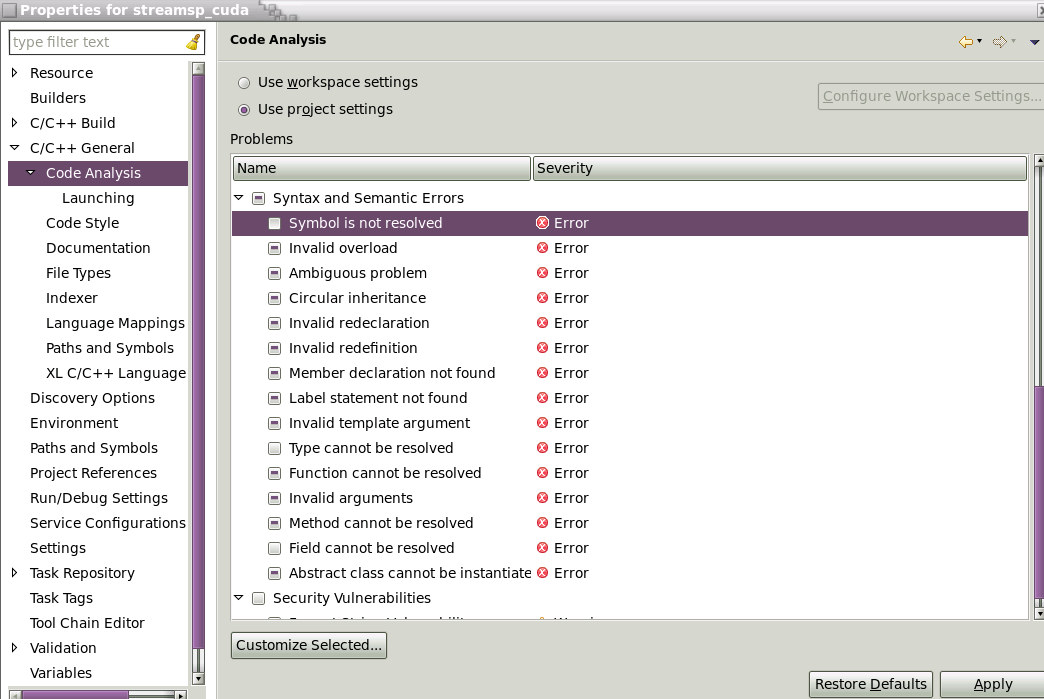
- Syntax and Semantic Errors
- Project -> Properties -> C/C++ General -> Code Analysis (select radio button: use project settings)
- If the makefile project doesn't support the target "all" (as with the SDK examples), change the build behaviour.
- Project -> Properties -> C/C++ Build -> Behaviour tab -> Build field (remove "all") , incremental build
CDT without makefile projects is more involved, because you don't have a correct compiler toolchain for nvcc . Using a makefile is a simple workaround.