For scientists wanting to jump right into using C3 through Python or R, the Jupyter notebook integrated into C3 is a great option. Once you get a vanity url/tenant/tag, you can easily access the integrated jupyter notebook by navigating to `<vanity_url>/jupyter`.
When you access the jupyter path, C3 will spin up a new container containing a jupyter instance. The first time you do this, it will take a few minutes for this provisioning to be completed behind the scenes. Once completed, you'll arrive at a jupyter directory!
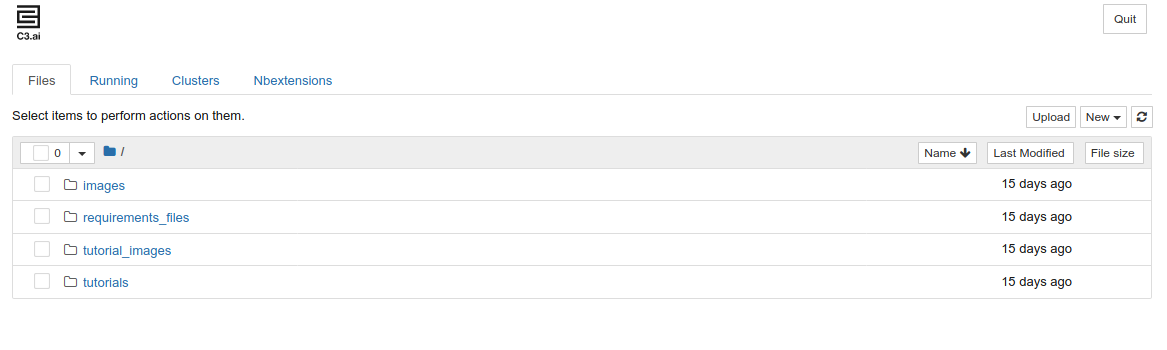
There are a couple options to interact with the jupyter notebooks
- Create a new notebook: Select 'New' in the upper right and create a new notebook. For now you can only create a new Python3 notebook.
- Open an existing tutorial notebook: Navigate to the 'tutorials' directory, in which many C3 DataScience-centric tutorials are available.
- Upload an existing notebook: Press the 'Upload' button and select either a notebook of your own or one mentioned on the DTI training pages. (Be aware that the `c3` object will already be available in this case so you will have to comment out cells which establish this object.)
Creating new notebooks
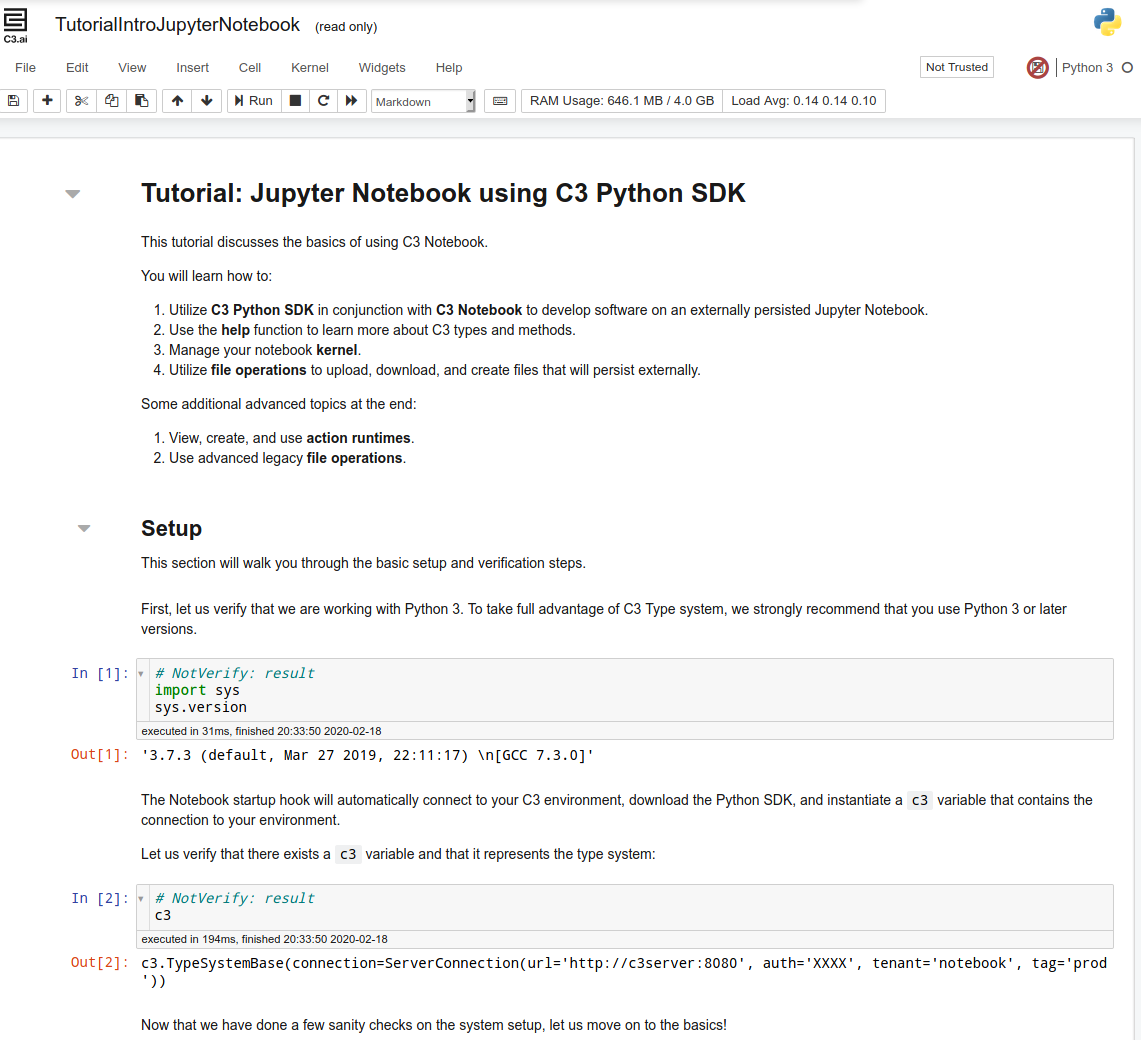
This notebook comes already connected to the C3 package currently provisioned on your tenant/tag and so for example, if you have the Covid-19 Datalake provisioned, you'll be able to do the following with no preparation:
Simply navigate to the `tutorials` directory, and select the tutorial you want to use. These tutorial notebooks should work out of the box. The DTI highly recommends going through the `TutorialIntroJupyterNotebook.ipynb` notebook. This notebook provides a great foundation for working with C3 through Juptyer.
Upload a new notebook
Finally, you can upload a new notebook.