| HTML |
|---|
<div style="background-color: yellow; border: 2px solid red; margin: 4px; padding: 2px; font-weight: bold; text-align: center;">
The Radiant documentation has moved to <a href="https://docs.ncsa.illinois.edu/systems/radiant/">https://docs.ncsa.illinois.edu/systems/radiant/</a>. Please update any bookmarks you may have.
<br>
Click in the link above if you are not automatically redirected in 5 seconds.
</br>
</div>
<meta http-equiv="refresh" content="5; URL='https://docs.ncsa.illinois.edu/systems/radiant/'" /> |
This guide explains how to create a virtual machine (VM) using Radiant's OpenStack Dashboard (Horizon). There is also a description of how to access your new VM and how to mount persistent storage volumes.
...
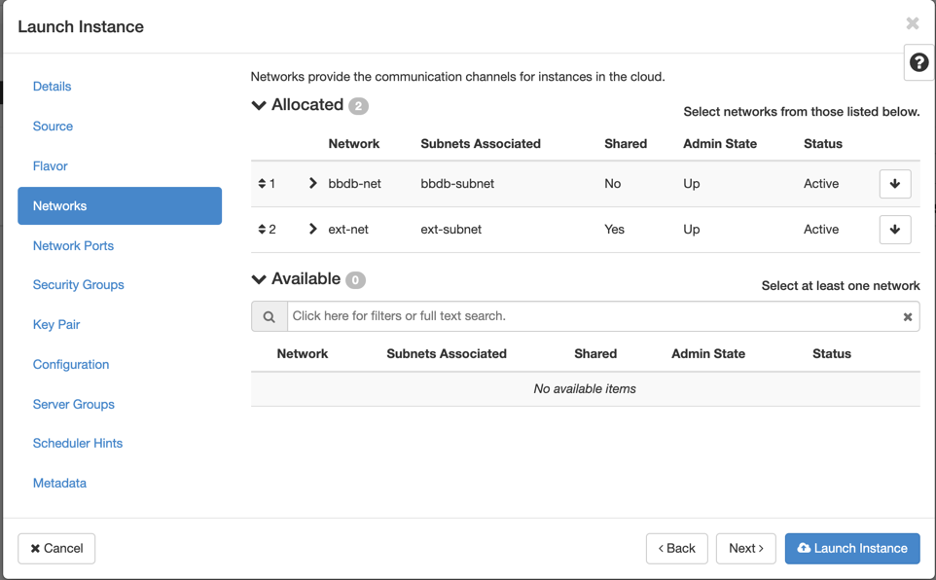
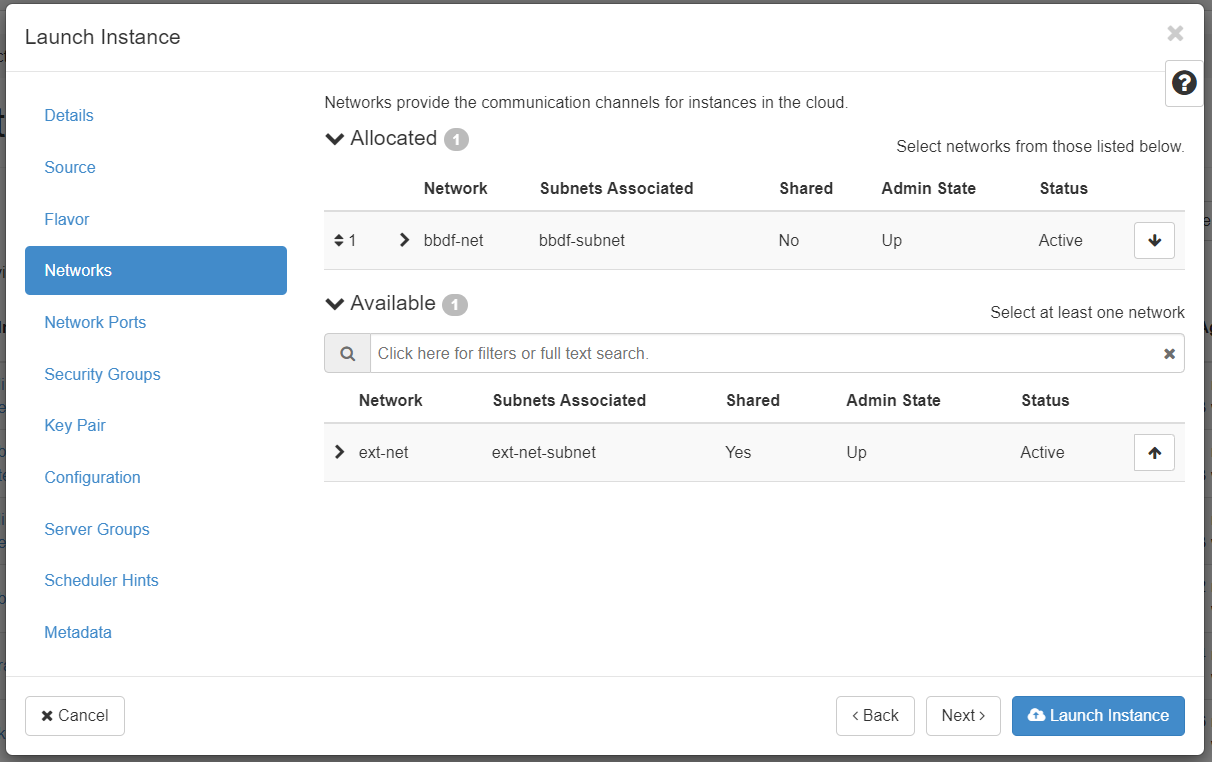
Next we select the network. You may see a few network options to choose from here. Look for a network that is <projectname>-net, for example bbdbbbdf-net, where bbdb bbdf is the name of your project. Do NOT pick ext-net on this page, if you do your instance will fail to be created. By default the <projectname>-net network does not allow for external connections. Only other hosts on that same network will be able to reach this machine. This is fine for a host that only needs to be reachable from other hosts within your network. If you need to setup a host that is reachable from outside your network, you will need to associate a floating IP address to your instance. This is setup after an instance is created (see below).
Network Ports
Can be ignored
...
First thing to do is make sure you mount in Taiga bulk storage condo if you want to use more diskspace. Each instance only has a little storage (40GB) that is primarily used for the OS. You can mount additional Taiga Bulk storage via NFS using:
sudo mount -t nfs radianttaiga-nfs.ncsa.illinois.edu:/taiga/ncsa/radiant/projects/bbdb /mntbbXX /mnt/point
Where bbXX is your unique Radiant project code and /mnt/point is the target mount path.
This will make your bulk storage space available on your machine. It will take a few minutes from when your machine boots, until the space can be mounted.
...
Did you use the right username? The following is a list of known usernames:
OS username CentOS centos
Ubuntu ubuntu CoreOS core RedHat cloud-user
Rocky rocky/cloud-user
Trouble in the system
- I’m out of diskspace. Make sure to mount storage condo for all your data. You only have a small amount of root storage.